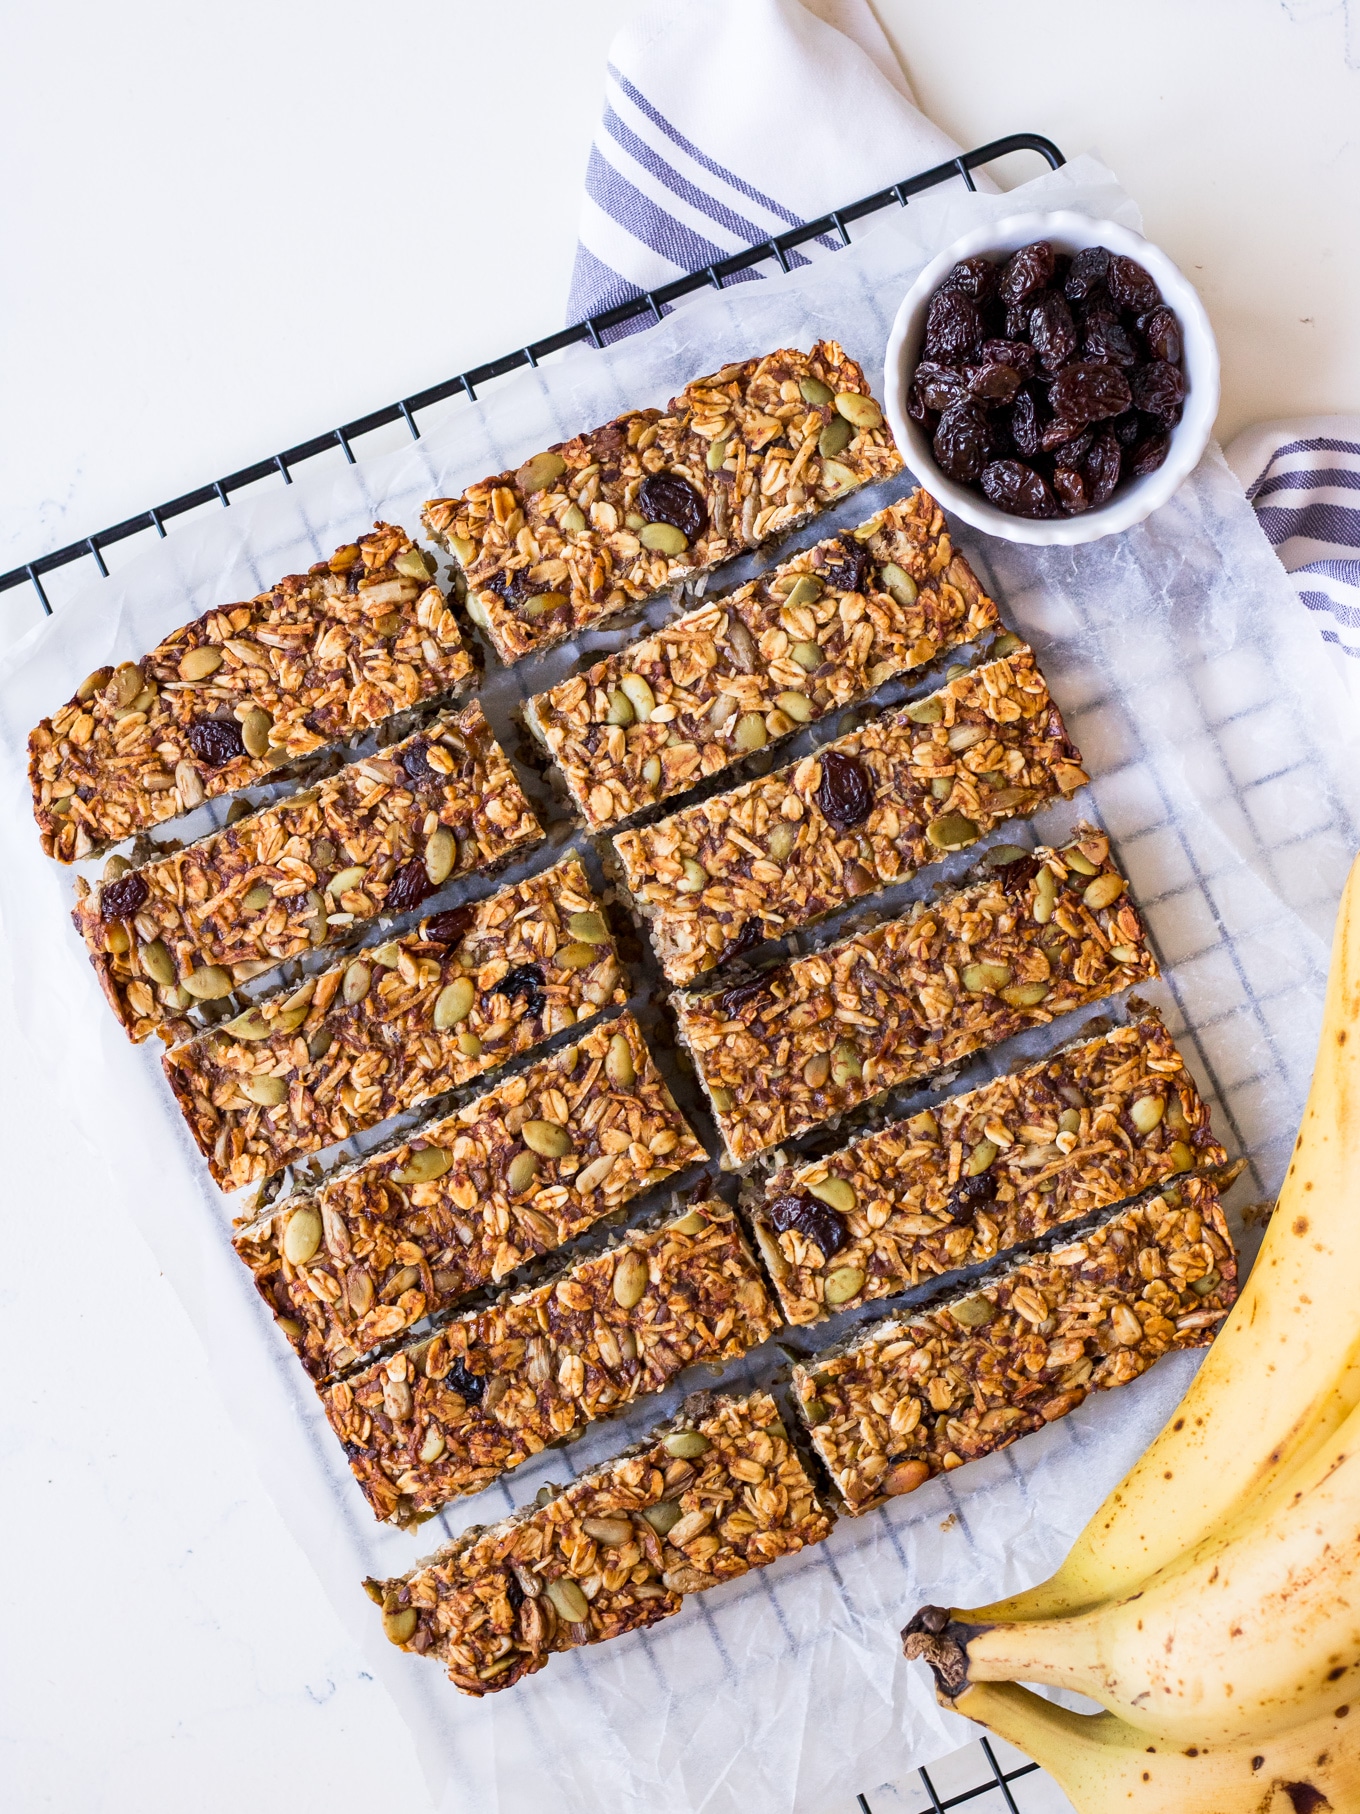
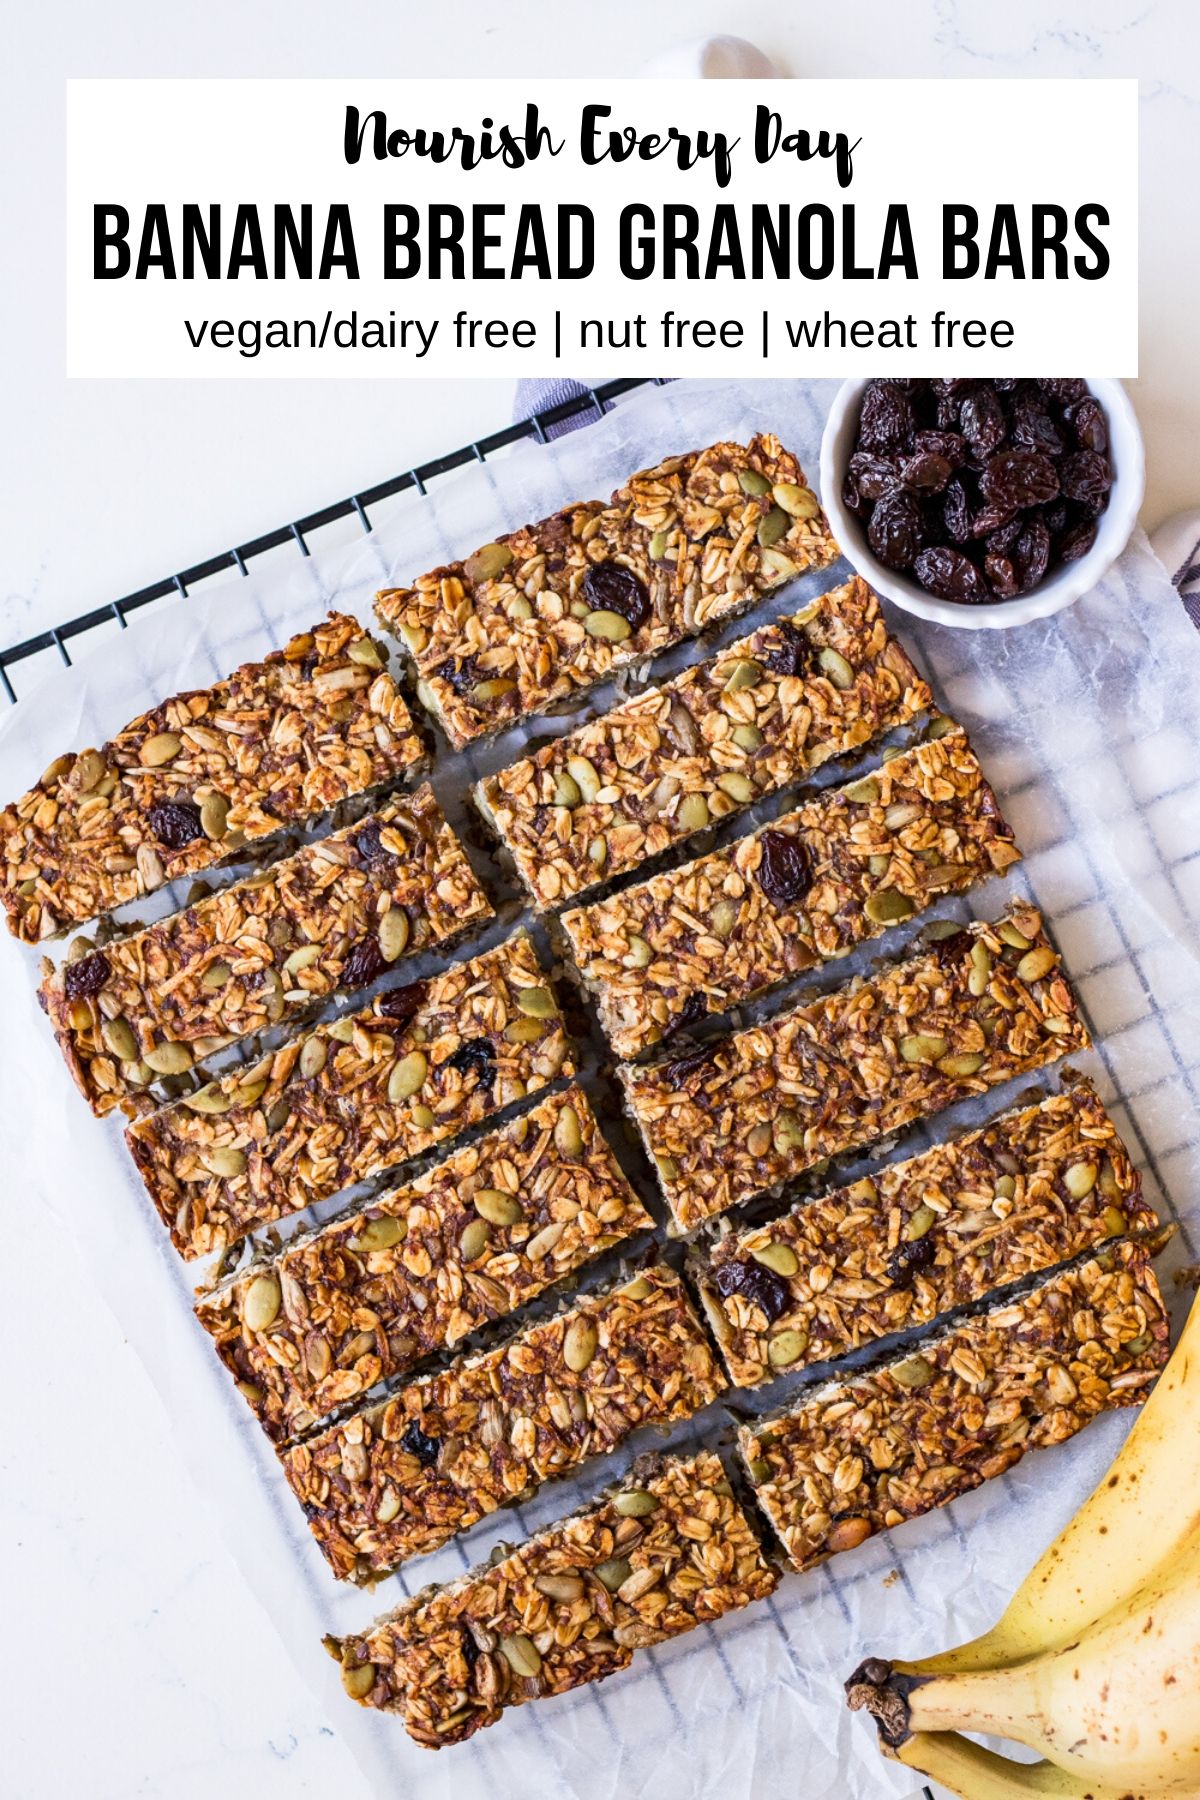
Easy peasy banana bread granola bars made with oats, seeds and coconut. Naturally sweetened with banana and a tiny splash of maple syrup, these are the perfect snack or a speedy breakfast on the go! This recipe is vegan and nut free (and if you have gluten free oats available, it can be gluten free as well!).
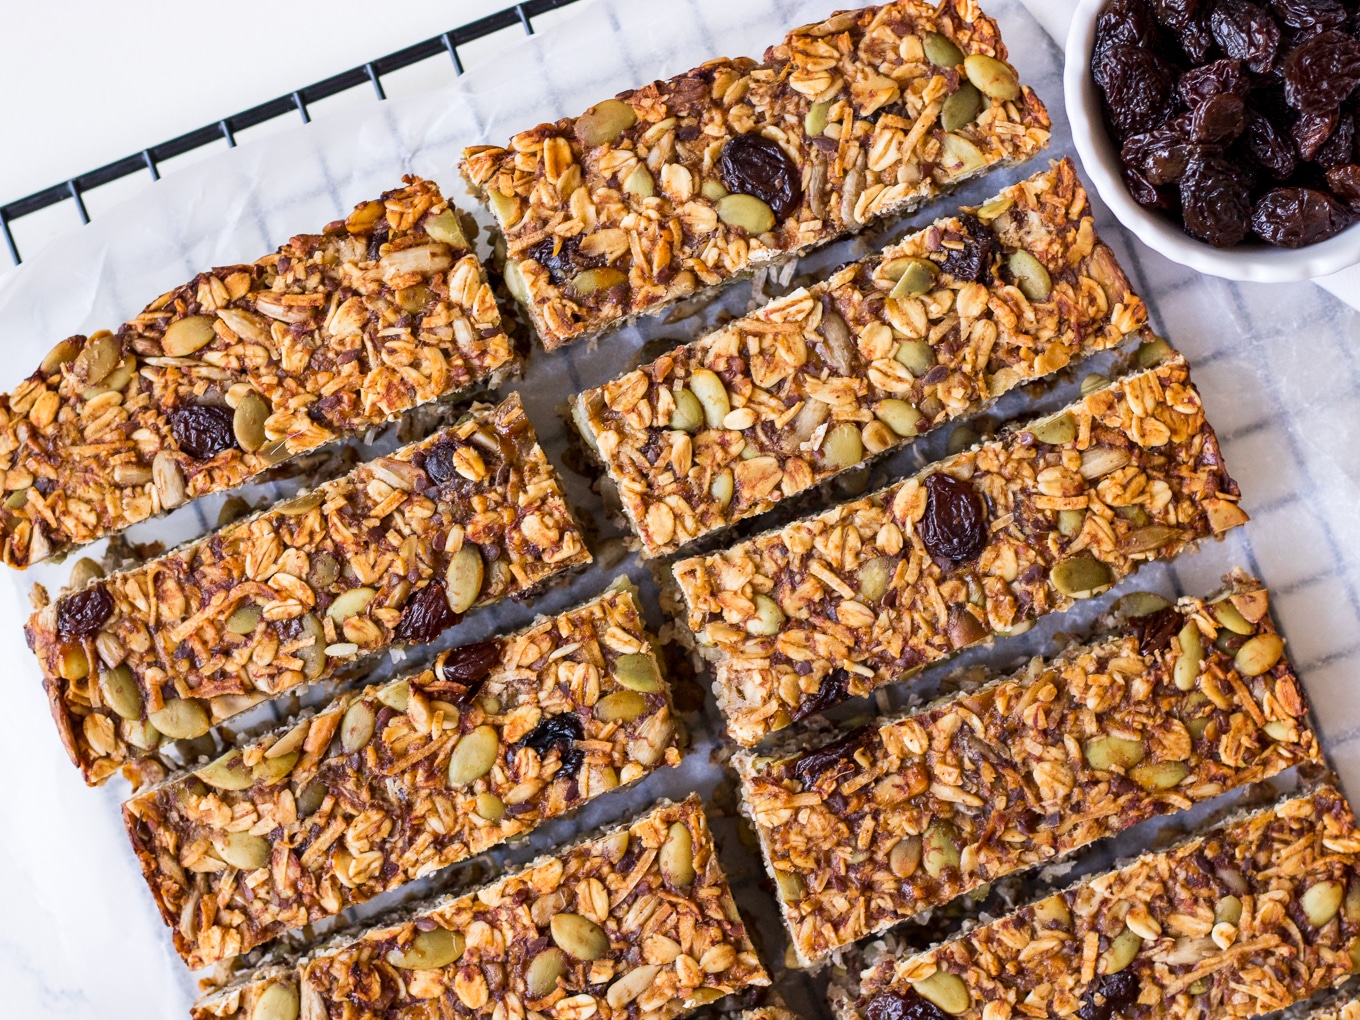
These banana bread granola bars are a personal fave. Delicious, nutritious and easy to make. There’s really not much to this recipe, mashing the banana is the only thing that involves much effort! Then it’s simply a matter of pressing the mixture into a baking tray.
Why you will love these easy banana granola bars
- A healthy and filling snack option. Packed with wholegrains, fruit and seeds, this delicious granola bar is made with nutritious ingredients and makes a satisfying snack without too much of a sugar hit.
- Allergy friendly recipe. The recipe as written below is nut free and dairy free. If you live somewhere where there are certified gluten free oats, you can also make this recipe gluten free.
- Simple cooking method with minimal fuss. This is a really basic recipe to throw together. I know some granola bar recipes can feel a bit fiddly having to melt together a lot of ingredients – not the case here. The bars are held together mostly using mashed banana, which is so quick!
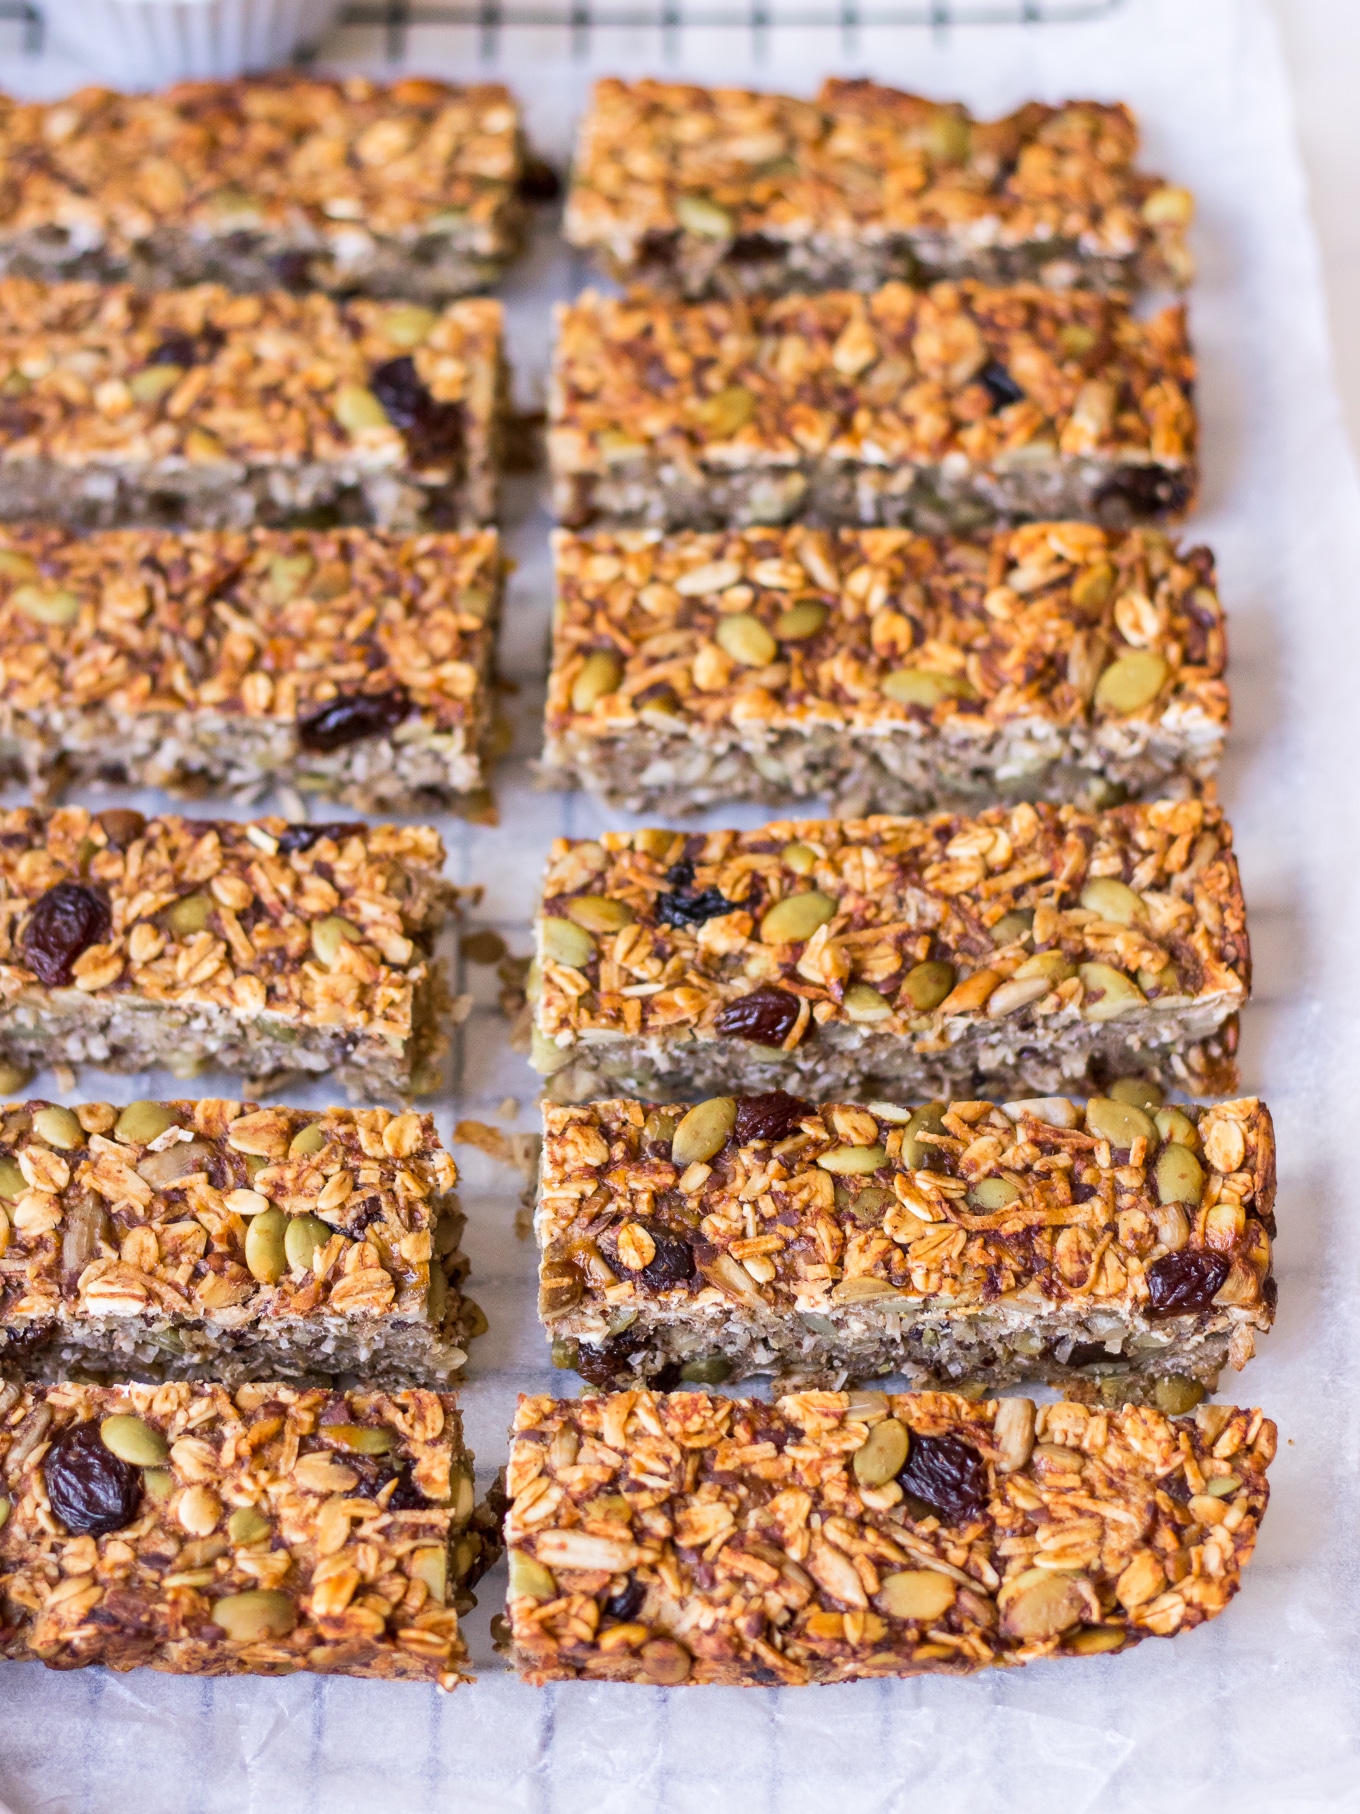
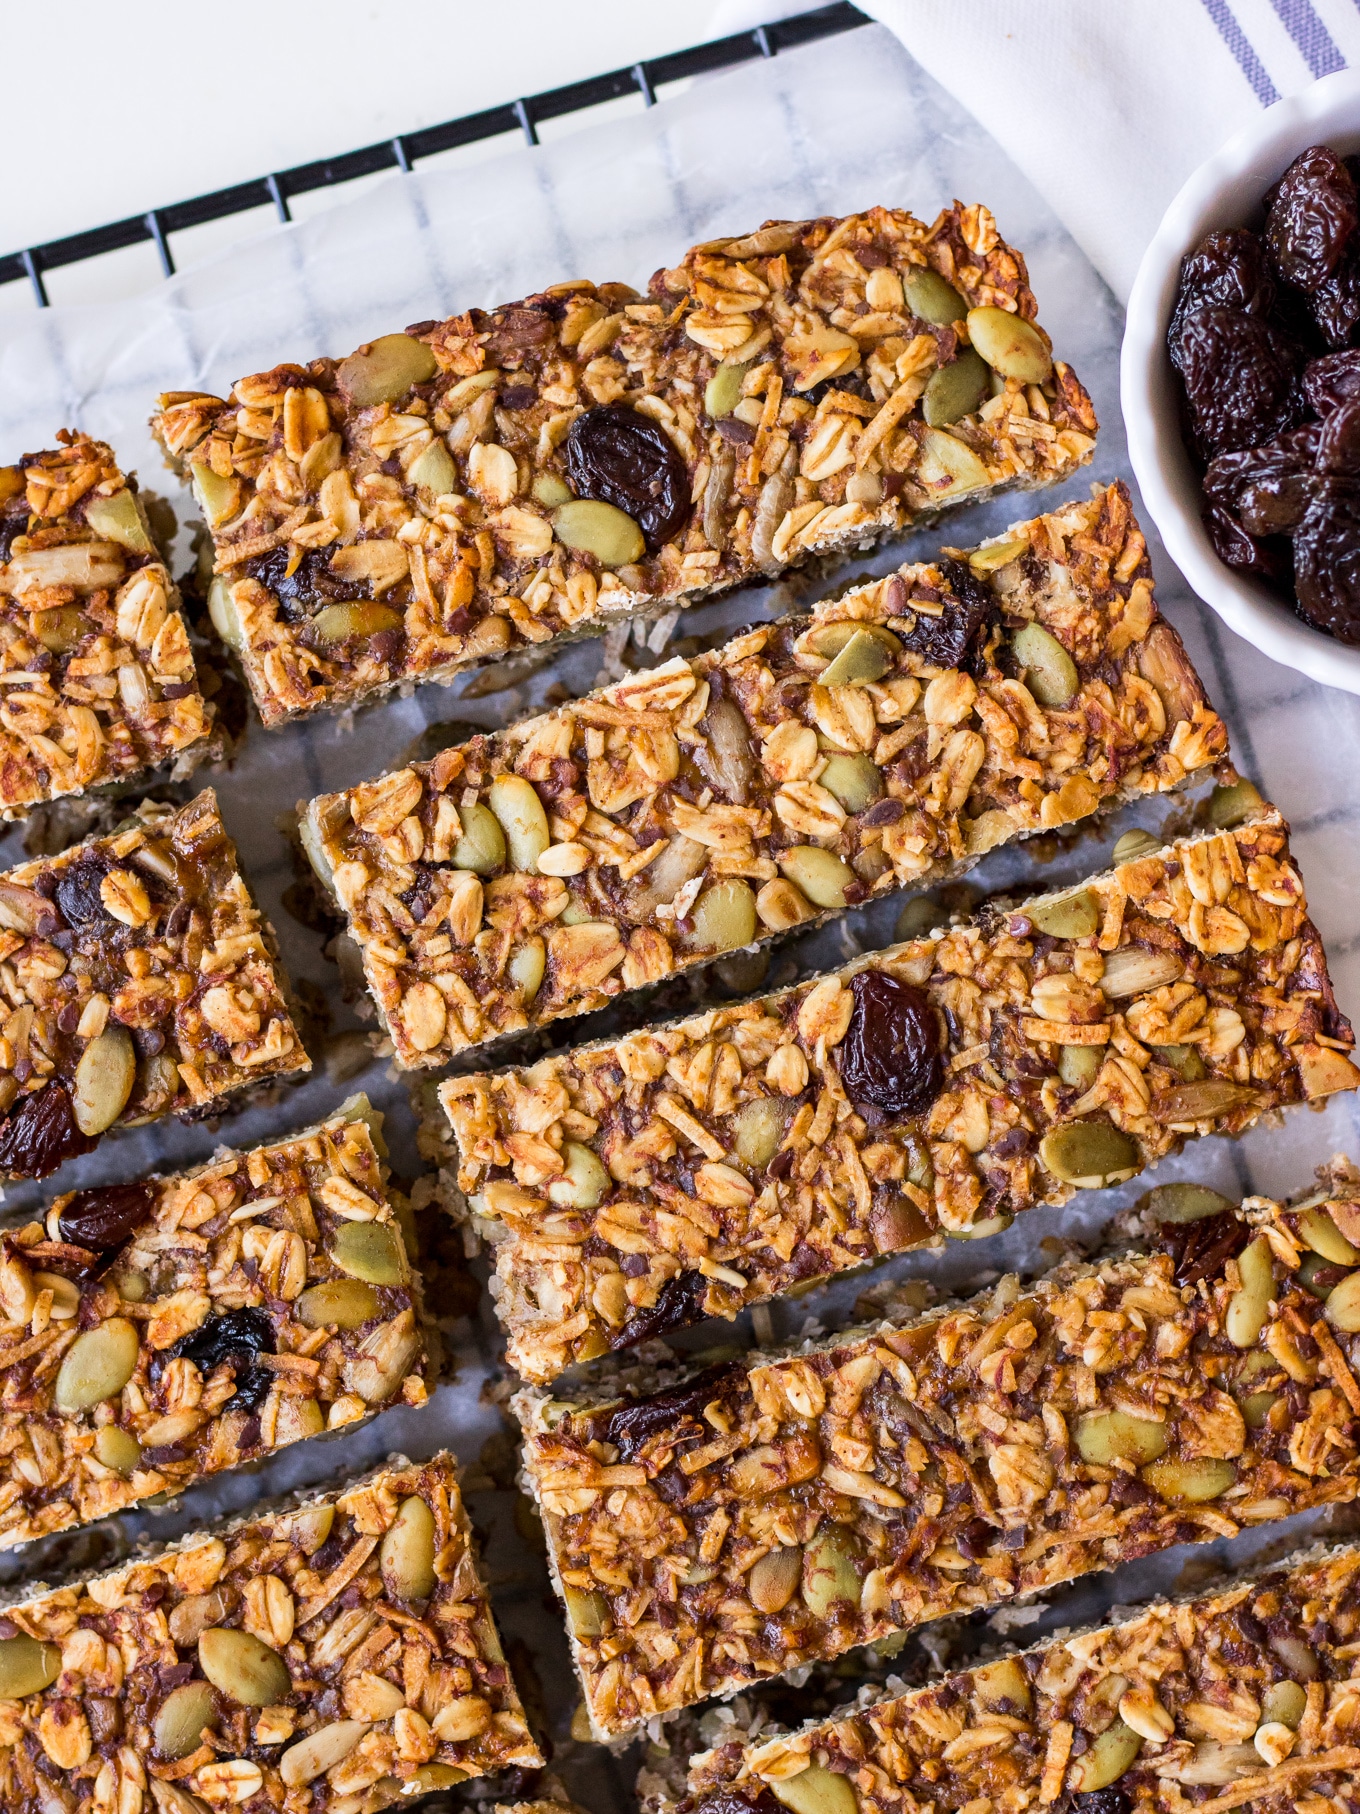
My banana bread granola bars have the most delicious flavour and are packed with chewy rolled oats, sweet coconut and lots of crunchy seeds. I decided to call them banana bread granola bars because the smell of the bananas and cinnamon baking reminds me of a classic banana bread baking in the oven!
Cooking tips for making healthy granola bars with mashed banana
This recipe is vegan and very low in added sweetener, with the bars being mainly held together with mashed banana. It might sound like the mixture will not stick together, but here are my tips to ensure you get the best results:
- Use two LARGE bananas in this recipe. You want about 2/3 to 3/4 cup of mashed banana puree for this recipe. If you have small bananas, you may need three.
- Make sure you add the ground flaxseed to the mixture. Ground flaxseed swells up a little and develops a gel-like texture when combined with wet ingredients, helping to bind the bars together.
- Press the mixture down firmly in the baking tray. I find this easiest to do with my fingertips.
Are these granola bars crunchy or chewy?
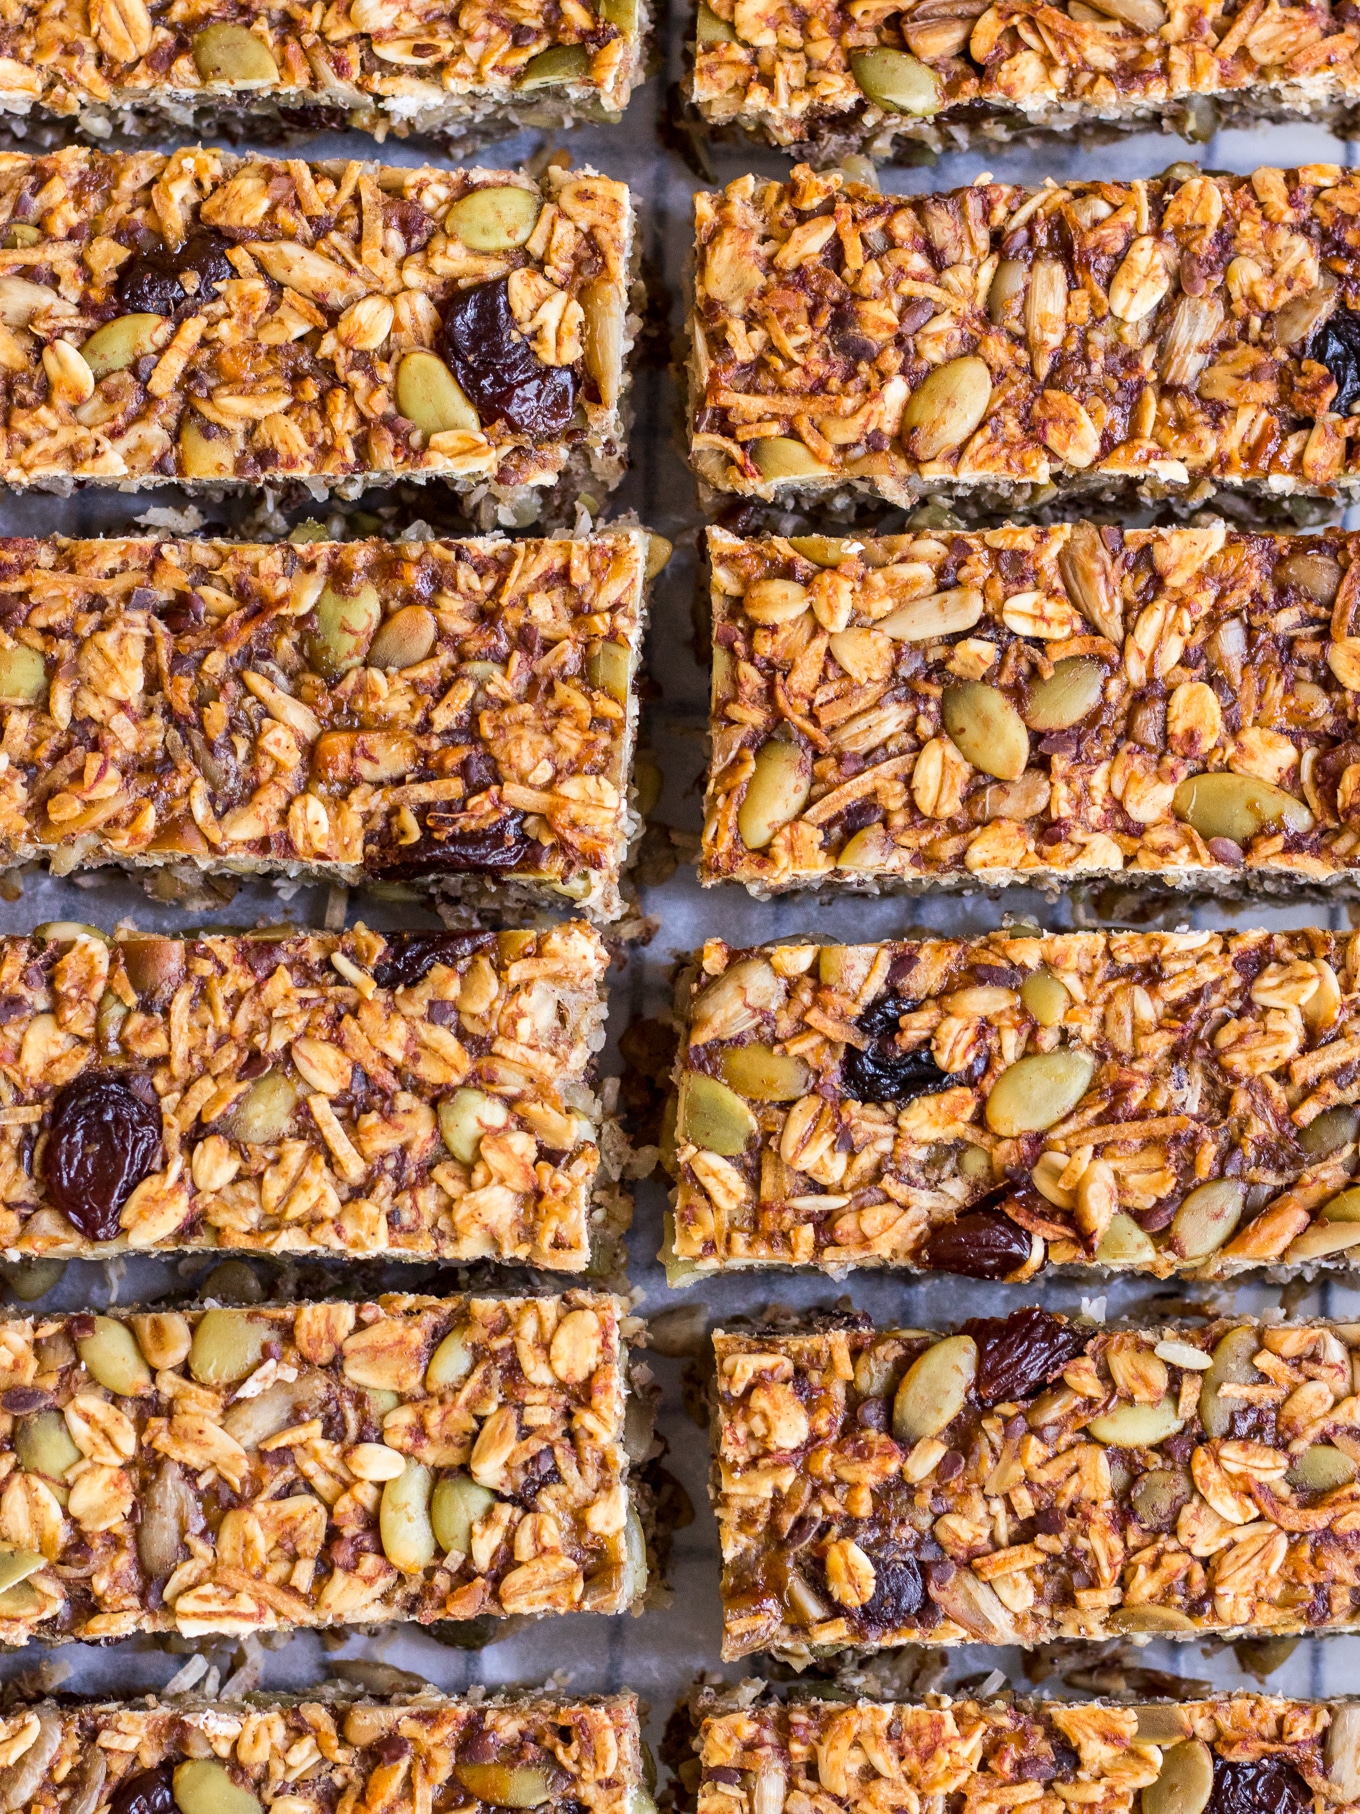
These banana bread granola bars are more chewy than they are crispy. If you like a granola bar with more crisp edges, you can return these to the oven for a bit of extra baking time once you’ve sliced the baked mixture into smaller bars, as this will help to dry them out more, adding a slightly more crunchy edge. Just be careful not to burn them!
How should I store banana granola bars?
For storing the bars, I recommend an airtight container in the fridge. I sometimes freeze them as well, though they become a little softer when defrosted. To freeze them, wrap firmly in baking paper and then a layer of cling film, and pop into a container in the freezer.
I hope you enjoy these easy peasy banana bread granola bars! If you make them don’t forget to take a snap and tag me on Instagram or leave me a comment below.
More delicious snack recipes:
Easy Banana Bread Granola Bars
Ingredients
- 2 large bananas as overripe as possible*
- 1 and 1/2 cups rolled oats (gluten free)
- 1/2 cup shredded coconut
- 1/2 cup pumpkin seeds
- 1/2 cup sunflower seeds
- 1/2 cup sultanas
- 3 tbsp ground flaxseed
- 1 tsp ground cinnamon
- pinch salt
- 3 tbsp maple syrup
- 1 tbsp coconut oil melted
- 2 tsp vanilla extract
Instructions
- Preheat your oven to 160 C and line the base and sides of a square or rectangular cake tin with baking paper (I used a 9 inch square cake tin).
- In a large bowl, combine the oats, coconut, pumpkin seeds, sunflower seeds, sultanas and the flaxseed.
- Mash the bananas thoroughly until you have a thick paste. Stir in the coconut oil, maple syrup, vanilla, cinnamon and salt.
- Combine the banana mixture with the oat mixture. Scoop into your lined baking tray and press the mixture down firmly (using the back of a spoon or your fingertips) until there are no gaps and the mixture is evenly distributed.
- Bake for approximately 35 minutes, or until the edges are starting to turn a deep golden brown and the middle feels firm.
- Remove from the oven and allow to cool before slicing in to bars.
- If the bars feel a little wet/damp on the underside after the cooking time, remove from the baking tin, place upside down on a baking tray and bake them in the oven for 5-10 minutes extra. This can be done before or after slicing into smaller bars.
Notes

This was an hour wasted for what tastes like a handful of seeds, and won’t last more than a couple of days because of the banana. Needs more sugar and maybe salt? Also needs more cooking time, and to be cut up into bars, to hold together. Or a larger than 9” cooking pan? Whatever; generally, this recipe is a big fail.
This looks delicious! Are the calories for the whole thing, or per bar?
U just make me sad. u failed me again. tasted okay saddddtimeeeeeees
Monique, just like all your recipes, this one is perfect, worked like a treat.
Thank you Monique all the way from UK. Absolutely delicious recipe and healthy. I just used more bananas and didn’t use the maple syrup !! Thanks Kiran xx
Thanks so much Kiran! Appreciate you taking the time to leave this lovely review and I’m so happy you like them 🙂
Mmm
Tasty and easy to make although they are lacking something, I just added some orange oil and worked good. Also used chia seeds instead of flaxseed. Thanks, was the only recipe with no dairy or sugar but little honey too.
Hi! These look like a nice variation to regular banan bread. Can the flaxseed be replaced with chia seeds?
Hi Hazel, yes I think that would work! Make sure to use large bananas with this recipe to make sure you have enough banana puree to bring the mixture together 🙂
Worked very well! I didn’t have enough dried fruit so made up the quantity with dark chocolate chips. Just the right amount of sweetness – yum!
Very happy to hear this and yum to choc chips! 🙂
These look delicious! Another great way to use overripe bananas! I will definitely have to try.
Thank you so much Maria! Always good to have a few different ways to use up all those bananas that you end up with in the freezer 🙂