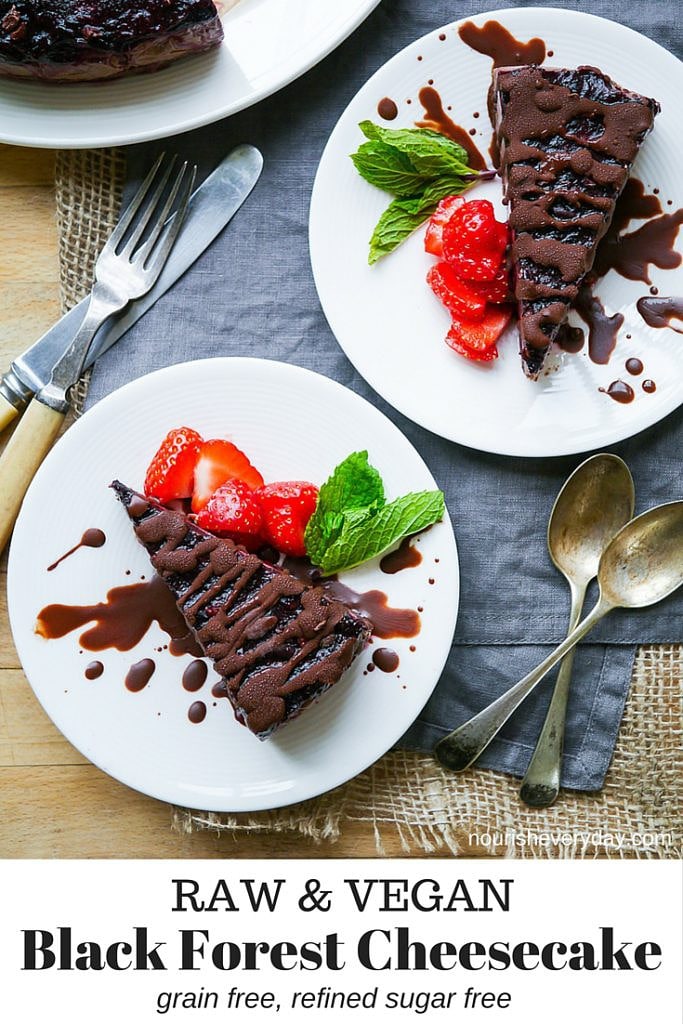
A raw vegan “black forest” cheesecake filled with a creamy cashew and coconut based filling and topped with cherry puree. This grain free, gluten free no-bake treat is easy to blend together for a healthier dessert option!
Despite the London summer being an overwhelmingly fickle, fleeting and generally rainy kind of thing… I think there’s still enough warmth around to squeeze in a recipe for a raw vegan cheesecake this year. Especially when we’re talking about one with a “black forest” punch, with a creamy cashew-coconut-cacao filling and a thick sweet cherry topping!
Frozen desserts are a pretty fun thing to make; though there’s a bit of waiting time while you soak and chill the ingredients, the actual work required in bringing one together is relatively minimal and I think there’s also a bit of a reduced risk of total cake failure compared to cake baking. That feeling when you pull the tin out of the oven and…eeek! There’s none of that with a raw cheesecake.
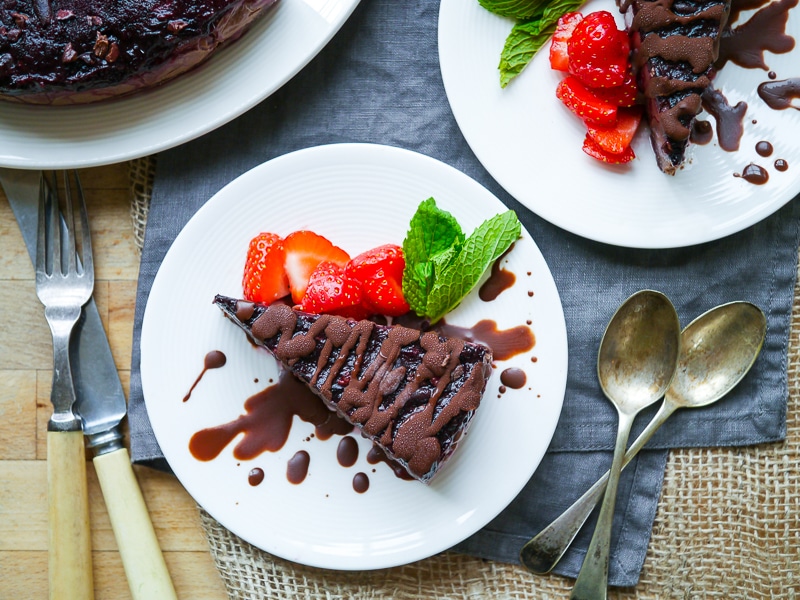
This gorgeous raw vegan black forest cheesecake really is easy to pull together. The bottom layer is nice and sticky, with the flaxseed binding the nutty base very firmly. Raw cacao powder blended into the “cheesecake” middle makes it so velvety and chocolate-y. You can adjust the amount of cacao you add to this layer depending on how much of a dark chocolate flavour you wish the cake to have, too. And then literally, the cherries on top! So yum. Personally I love the final sprinkle of cacao nibs the best, adding a really nice crunch to each bite.
Whip out your food processor, keep the oven off and blend up this creamy raw vegan cheesecake!
Raw Vegan Black Forest Cheesecake
Ingredients
Base Layer
- 2 cups walnuts - approximately 180 grams
- 1/2 cup desiccated coconut - approximately 40-45 grams
- 3 tbsp ground flaxseed
- 3 tbsp cacao powder
- 2 tbsp coconut oil
- 2 tbsp rice malt syrup or maple syrup
- 1 tbsp water
Middle Layer
- 2 and 1/2 cups cashews - approximately 275 grams
- 150 mL coconut cream (full fat)
- 1/4 cup coconut oil measured melted, 60mL
- 4-5 tbsp cacao powder - increase depending on taste preference
- 1/2 cup rice malt syrup or maple syrup
- 1 tsp ground cinnamon
- 1 tbsp vanilla extract
- 3 tbsp maca powder - OPTIONAL
- 1/2 tsp salt
Cherry Topping
- 2 cups frozen cherries
- 1 tbsp vanilla extract
- 3 tbsp cacao nibs
Instructions
- Start this recipe a few hours in advance by preparing your cashews for your middle layer; place them in a bowl and cover with water, and soak for at least 3 hours (but no longer than around 7). Also start to thaw the cherries at this point, simply take them out of the freezer and leave somewhere to defrost (I usually leave them in the fridge as you won't need them for a good few hours).
- Prepare an 8-inch (20cm) cake tin (ideally springform for easier removal) by lining the whole tin with a large piece of clingfilm that comes up over the sides of the tin. Then line the base with baking paper over the top.
- While the ingredients are getting ready, make the cake base. Place all of the base ingredients into your food processor and blend, scraping down the sides as needed, until the mixture is a fine crumb and starts to stick together.
- Scoop out the cake base and press firmly and evenly in to the base of your lined cake tin. Pop the cake tin in the freezer to chill.
- While the cake base is chilling, make the middle layer. Drain the cashews and place into the food processor. Blend until they start to form a thick cream, scraping down the sides of the processor as needed. Then, add in the remaining middle layer ingredients and continue to blend until smooth, again scraping down the sides of the machine to make sure all is incorporated.
- Pour the middle layer over the top of the cake base, smooth it out, and then return to the freezer to set. Let this layer chill for at least 2 hours, or until quite firm.
- Make the cherry topping. Drain off any excess liquid from the defrosted cherries, then place the cherries and vanilla extract into the processor and blend. You can leave the layer a little chunky if you prefer.
- Pour the cherry layer over the top over the cake and smooth over. Sprinkle over the cacao nibs. Return the cake the freezer until the top layer is firm.
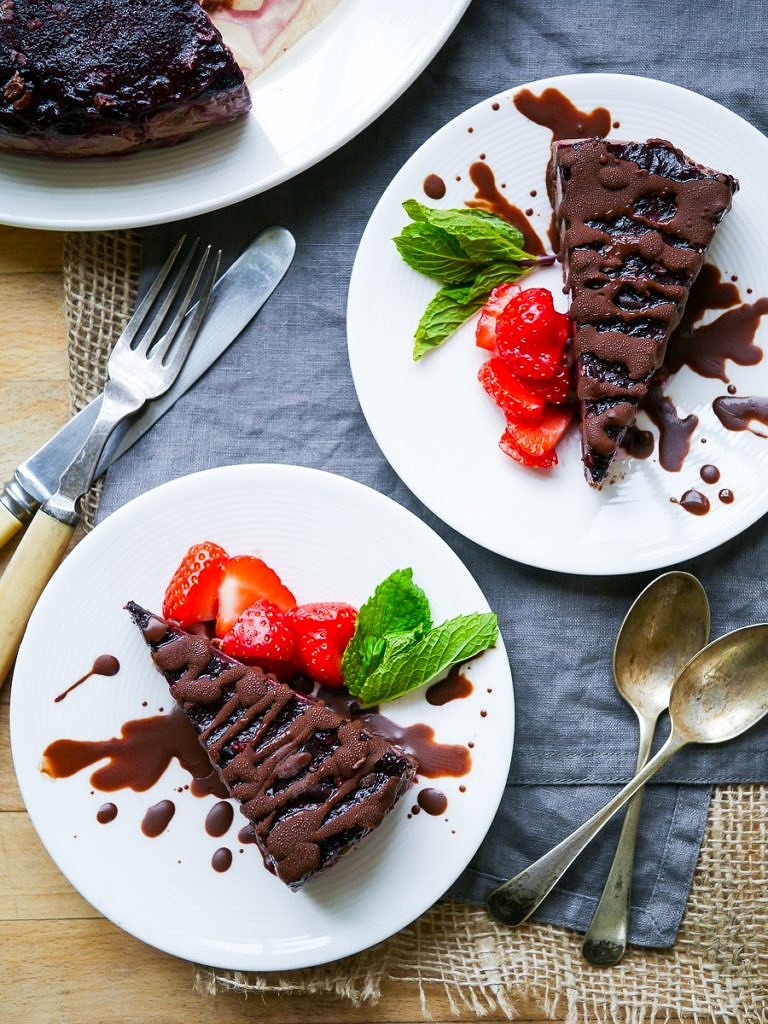
- To serve the cake, remove from the freezer and carefully extract the cake from the tin (springform tins make it easier!). Ideally, allow to sit out for about 15 minutes prior to serving, to soften, and slice with a hot knife.
- (If you like, you can drizzle some melted dark chocolate over the top of the cake prior to serving, as pictured!)
Notes
made it and it was phenomenal! Put the cherries in the cheesecake itself and then I used agar agar and turned the juice into a jelly to set on the top of the juice. I also pimped it up with a little bit of Cassis to give it a boozy edge.
My girlfriend made this for my birthday yesterday. What a wonderful surprise! This was the best birthday cake ever.. The taste and textures are very well balanced. She did use chopped fresh cherries for the top layer, drizzled with melted dark chocolate chips thinned with soy milk. We enjoyed it even more today. We’ll be sharing this with our friends. Thank you, Monique.
Hi Jerry, thank you for this lovely message, I’m so happy to hear you enjoyed the cake. It is really nice when there are fresh cherries available – I’m looking forward to making again myself when it’s cherry season! And that dark chocolate drizzle sounds awesome too. 🙂
Monique, this is beautiful! I love anything with cherries! This would certainly brighten up these dull and rainy days we’ve been having here in the UK. But let’s hope the sun comes out soon, eh! 🙂
Hi Sasha! Thank you so much for your lovely comment – I’m slowing getting there with my photos 🙂 And YES cherries are just totally amazing, aren’t they. Black Forest is such a great flavour! Here’s hoping for a sunny weekend!! xx