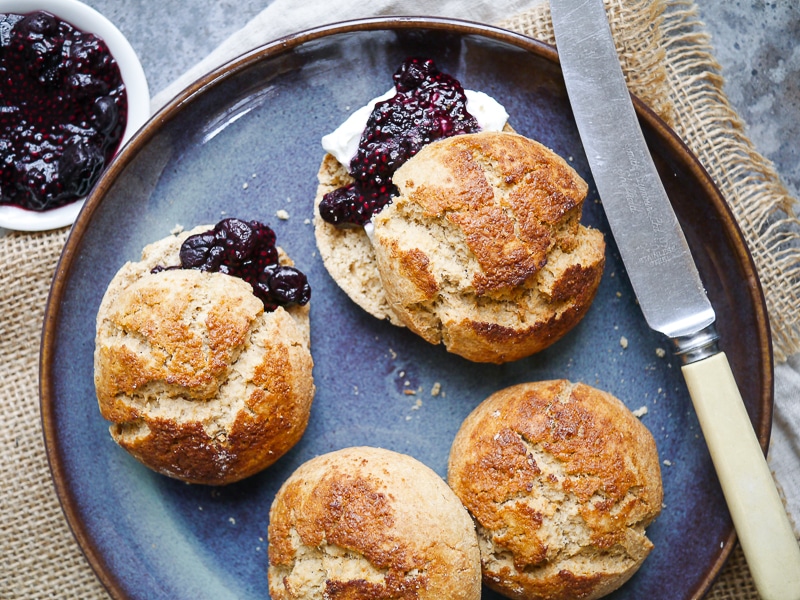
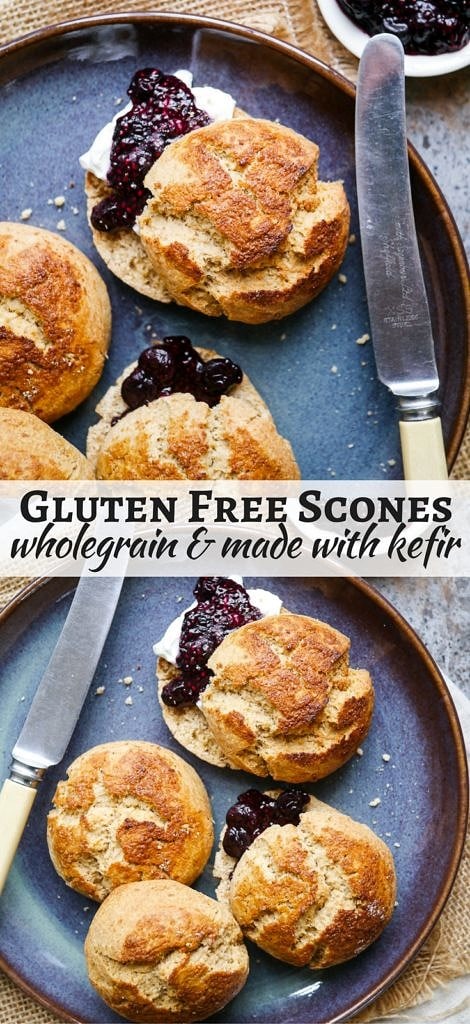
Wholegrain gluten free kefir scones make a super quick bake and are really easy to make. Just one bowl, a great healthy tea time treat!
You guys might have spotted the Free From Fairy’s wholegrain gluten free flour blend on the blog (see my Earl Grey and Banana Loaf) and on my Instagram before. It’s one of my current favourite blends; it’s really versatile and I love not having to mix any flours together for quick bakes. Better still, it’s a blend of healthy wholegrain flours (teff, buckwheat and sorghum). Higher in fibre & protein, and less refined and starchy than so many other blends.
But now let’s talk about these gluten free kefir scones! I got this idea from Vicki’s blog (i.e. the Free From Fairy), as she’s got a really helpful section outlining some recipe ideas using her flours. Her gluten free scone recipe caught my eye. Vicki makes some lovely ones using goat’s dairy and coconut sugar. I thought I’d try a similar recipe but using kefir – and so here we are! When I practised these scones I added a tiny bit extra butter, flour & coconut sugar than appear in Vicki’s recipe, as the kefir seemed to need that little bit extra to get a nice texture, and not too wet.
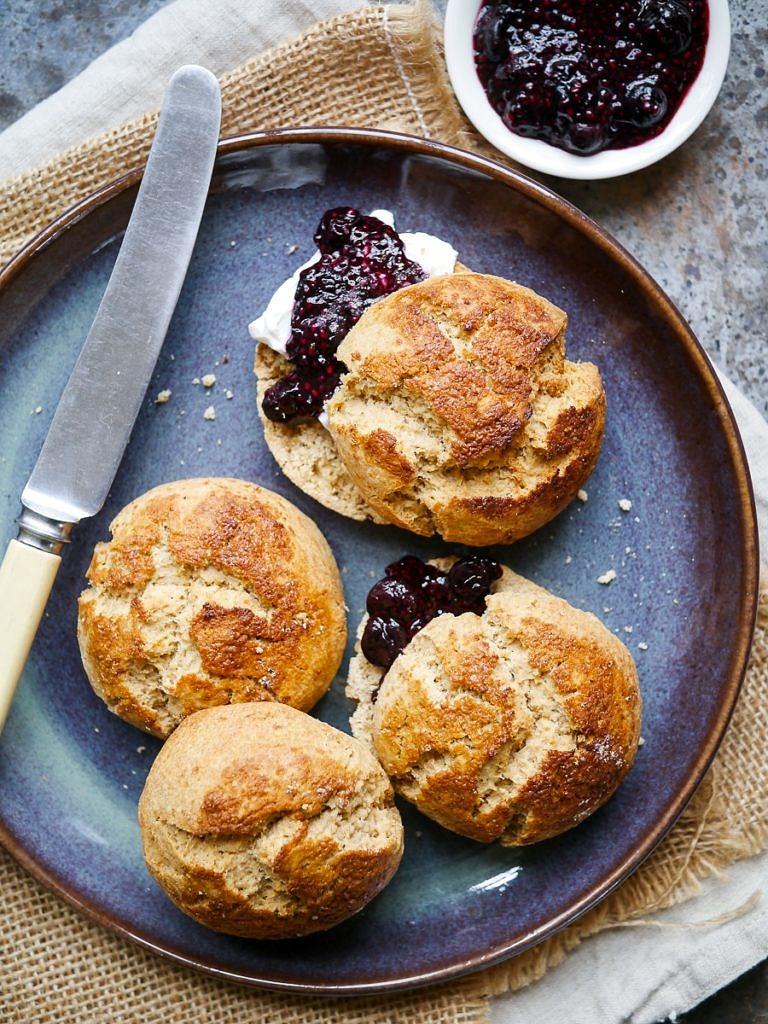
If you’re not familiar with kefir, it’s quite simply, fermented milk. It tastes like a tangy natural yoghurt, but is a bit more runny in consistency. The fermentation process makes it more easily digestible for some compared to milk, plus if you drink it (without cooking it) you get all the beneficial probiotic bacteria. Because it’s kind of a halfway between yoghurt and milk, I thought it would make a relatively simple substitute into this scone recipe.
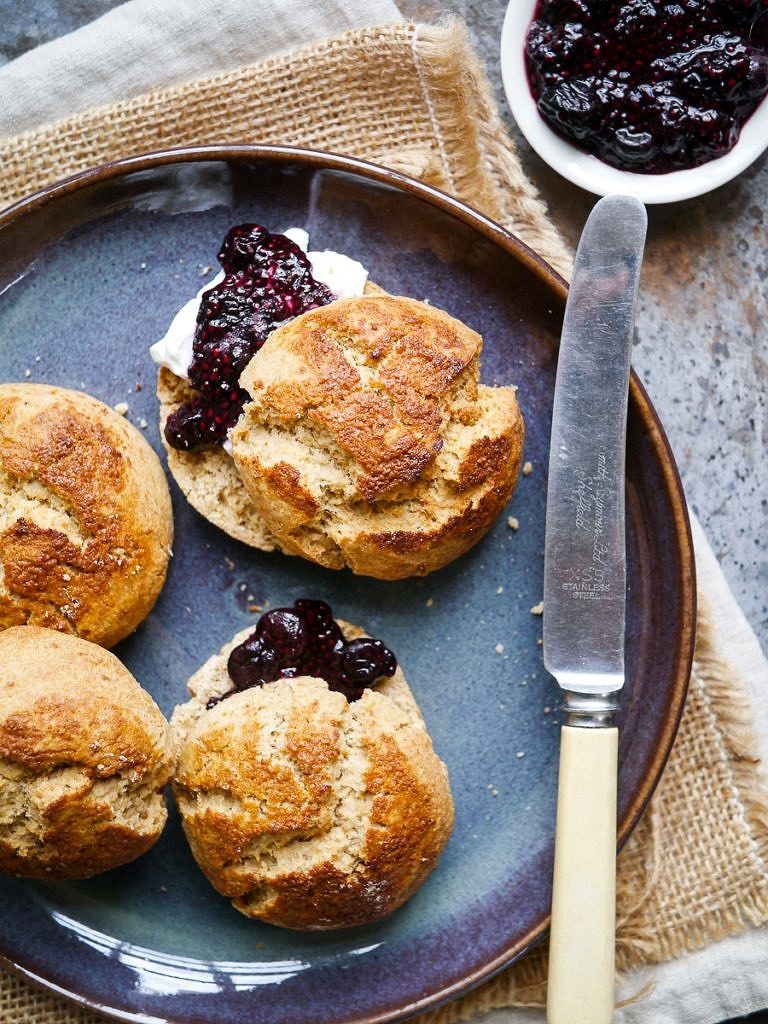
My gluten free kefir scones only need a handful of ingredients; the kefir, butter, a tiny bit of coconut sugar, a pinch of salt and a good gluten free flour blend. If you can get Vicki’s, I’d highly recommend it! This recipe is made with the self raising version, which is why no other leavening agents are needed. Enjoy these gluten free kefir scones spread with your favourite topping – I’m partial to homemade berry chia jam. With a little thick yoghurt or cashew cream too! Yum yum.
Wholegrain Gluten Free Kefir Scones
Ingredients
- 240 grams gluten free self raising flour - I used The Free From Fairy's blend
- 85 grams butter - I used organic salted butter
- 140 grams kefir
- 30 grams coconut sugar
- 2 tsp psyllium husk *
- 1 tsp ground cinnamon - OPTIONAL (adds flavour only)
- 50 grams gluten free self raising flour extra for rolling out the scones
For the tops of the scones
- 1/4 cup milk of choice, for brushing the tops
- extra coconut sugar for sprinkling on top
Instructions
- Preheat oven to 200 C and place a large baking tray in the oven to heat up while you prepare the scones.
- In a large mixing bowl, combine the flour, coconut sugar, psyllium husk and cinnamon (if using).
- Chop up the butter roughly and add this to the dry mix. Then, using your fingers, rub the butter into the flour until the mixture resembles wet sand.
- Add the kefir to the mixture and stir together until you have a slightly sticky dough. You should be able to pick it up and form a ball of dough, though it might stick just a little.
- Sprinkle a few tablespoons of the extra flour over a clean surface and put the dough ball onto it. Knead it a little and shape the dough into a log. Then, cut along the lengths of the log, forming eight separate pieces (or six if you want larger scones).
- Shape each piece of the dough into a rough rounded scone shape. Brush the top of each scone with milk and sprinkle over extra coconut sugar.
- Carefully take the hot pan out of the oven and quickly place all of the scones on to the tray. (If you are worried about the scones sticking to your tray, sprinkle over some extra flour over the tray before you pop the scones on).
- Bake the scones for approximately 15 minutes, or until the scones have turned a deep golden brown on top. They will crack slightly on top as they bake. (If you have made six larger scones they make take a few minutes longer - as always, watch your oven!)
- Once baked, allow the scones to cool for about 5-10 minutes before slicing to eat. These scones are best enjoyed with 24 hours or they tend to dry out a bit, so if you're not eating right away, slice them and store them in the freezer.
Notes

Hi. These are in the oven. I used 4 teaspoons of honey stirred not the kefir, instead of coconut sugar and two teaspoons of crushed chi seeds instead of husk. Also kefir had a little banana added to it so heavens knows how they will come out. Fingers crossed.
Will continue in short while.
Result – they look okay.
They taste okay. Need Jam but a very palatable gluten free option and good use of spare kefir. Quite chewy. Quite moist. Could do with a little dried fruit or date may be. I will be experimenting.
Thank you
Hi Julie! Thank you for this detailed comment, I love it when people actually tell me what’s going on and how they made the recipe 🙂 Interesting to hear they still held together with the chia seeds instead of the psyllium husk. I suspect that’s why they were quite moist (plus the honey), as I find chia is not as absorbent as the psyllium. Let me know if you make some variations!
These look so delicious! I love scones and I hope to be able to recreate these to look at least something like the pictures you posted! Speaking of, your pictures look amazing! Definitely made me inspired to want to try this recipe. Thank you for sharing!
Hi Billy, thank you so much for stopping by and for your kind words! I really do hope you give these scones a go and that you get a tasty result 🙂 It’s so fun using kefir in them, I love finding new ways to use it!